August 12, 2012

Placemat Clutch

As I learn how to sew, I'm increasingly intimidated by patterns. You sew everything inside-out and it makes no sense until the end. But the great thing about the placemat clutch tutorial on Lil Blue Boo is that it's pretty simple. No lining, no inside-out sewing. Just fold, stitch, attach a button. 

I bought a cloth placemat at Target for $3.25.  (Online it seems they are only offered in sets of four, but in the store, you can buy them individually.) I had to adjust the fold of my placemat because I didn't the way the colors of stripes that showed after it was folded (I'm weird). I also thought my placemat was too wide when folded (it would have made a really long clutch), so I took what I learned in previous clutch projects (the very techniques I was complaining about above), and folded it right-sides-together and stitched the sides so that I could trim off the excess. And then I was a big show-off and sewed a gusset on the bottom so it would sit flat. Cue nerdy moment of pride for going off-script. 
Gusset: yeah! 

Anyway, I opened the seam along the top flap, inserted a tiny hair elastic, and sewed it shut.
Hair tie. Masterful... except that loose thread.

Then I attempted to sew on a plain wooden button in coordinating thread - humbling. I tried a few times with no strategy whatsoever, and finally had to watch a youtube video about it. But then I did it - success! 
Giraffe: "This is one sweet placemat clutch."
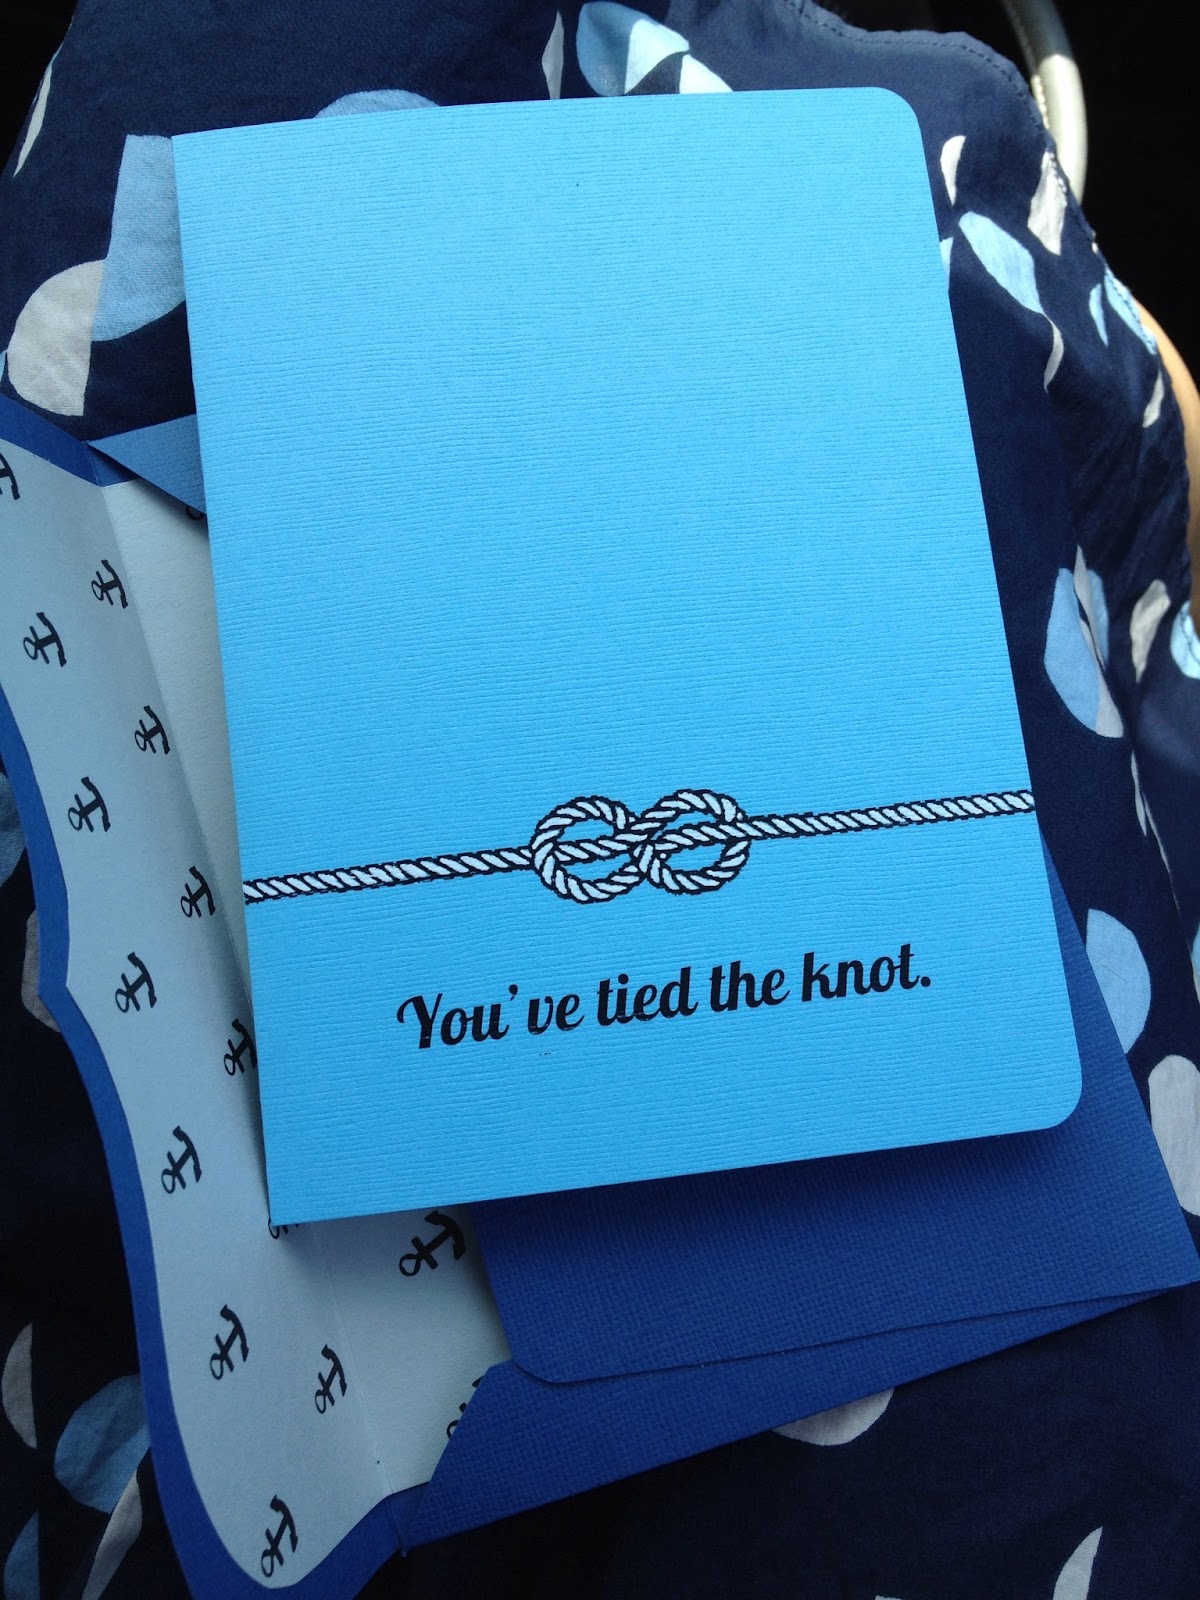
 Back when folded.
Front when folded.

As a clutch, it's not very sturdy, but it's cute and does the job and it's super cheap! 

Fun with Undershirts!

I recently tried a few new crafts I found on Pinterest. In a double-crafty post on Life of Charmings, blogger Brittany covered two fun projects: infinity scarves and batik dyeing. The infinity scarf tutorial originally came from A Bit of Sunshine, and used men's XL undershirts. I bought a 7-pack of white Hanes tshirts and got to work: cut across the shirt just under the armpits, dye the fabric, wash and stretch. 

These are dyed with Rit's petal pink and pearl gray:

The pink scarf has subtle polka dots courtesy of the batik method below.


The second half of Life of Charmings' post covered batik dyeing, a la Ucreate by Sweet Verbena, using Elmer's glue gel (apparently it must be the blue gel kind) and Rit dye. Using the glue, I drew a lotus flower on a shirt and left it to dry overnight. I did the same with a neck tie design on a onesie. The next day, I dyed both (Rit's denim blue on the onesie, and a demin blue + purple mix on the tshirt). I think they came really cute! 

Warning: be VERY careful using dark dyes; I used rubber gloves but still have smurfy fingers because I accidentally touched the dye bath while stirring sans gloves. 

Also, feel free to be a rebel: the directions said to wet the garment before using the glue gel, but for the polka dot scarf and the onesie, I forgot. I finally remembered for the lotus flower, but I actually didn't like the way it turned out. I'd prefer not to wet the garment, and not get as much spread from the glue. 

Onesie:
I assume the onesie is okay to wear after one or two washes, but I imagine new moms might be skeptical about putting a dyed-at-home garment on their baby. I don't know anything about babies. Would the dye irritate their skin, even after being washed? Hope not. 

Tshirt:
The tshirt is its own project. Following the tutorial on Trash to Couture, I adapted one of the men's XL shirts into a dolman top. It was surprisingly easy (the video helped), though I admit I just kind of winged it. 

Crappy photos, but you can see the lotus design and gathered side seams.

If I were to attempt it with a better quality shirt, I would be more careful in measuring how tight the waist should be. I figured it would be a cute shirt to wear to yoga over a tank top. You know, all casual and semi-sloppy in a zen-like way. 
Embarrassing bathroom photo. 


The Greeting Cards Continue!

Here are some recent cards and paper-related gifts I've made:

nautical retirement card 

father's day card 

wedding card (personalized plates!)  

framed quote (bride and groom's wedding song) 


nautical wedding card (with handmade envelope!)

Note: this card was for B's friends. I brought a white gel pen to sign it. I was HORRIFIED when I saw that while I was still getting ready, he signed the card. Not only did he use regular black ink, but he wrote using his terrible, terrible chicken scratch - EVEN ON THE NAVY BLUE ENVELOPE! I thought I was going to break up with him. 
Ruined.